Please bare in mind some of the animations were made to be 'scroll-to-play' so the timing of things may seem a little strange but it is purely intentional.
Here are some of the earlier tests and experiments which led me to the final result.
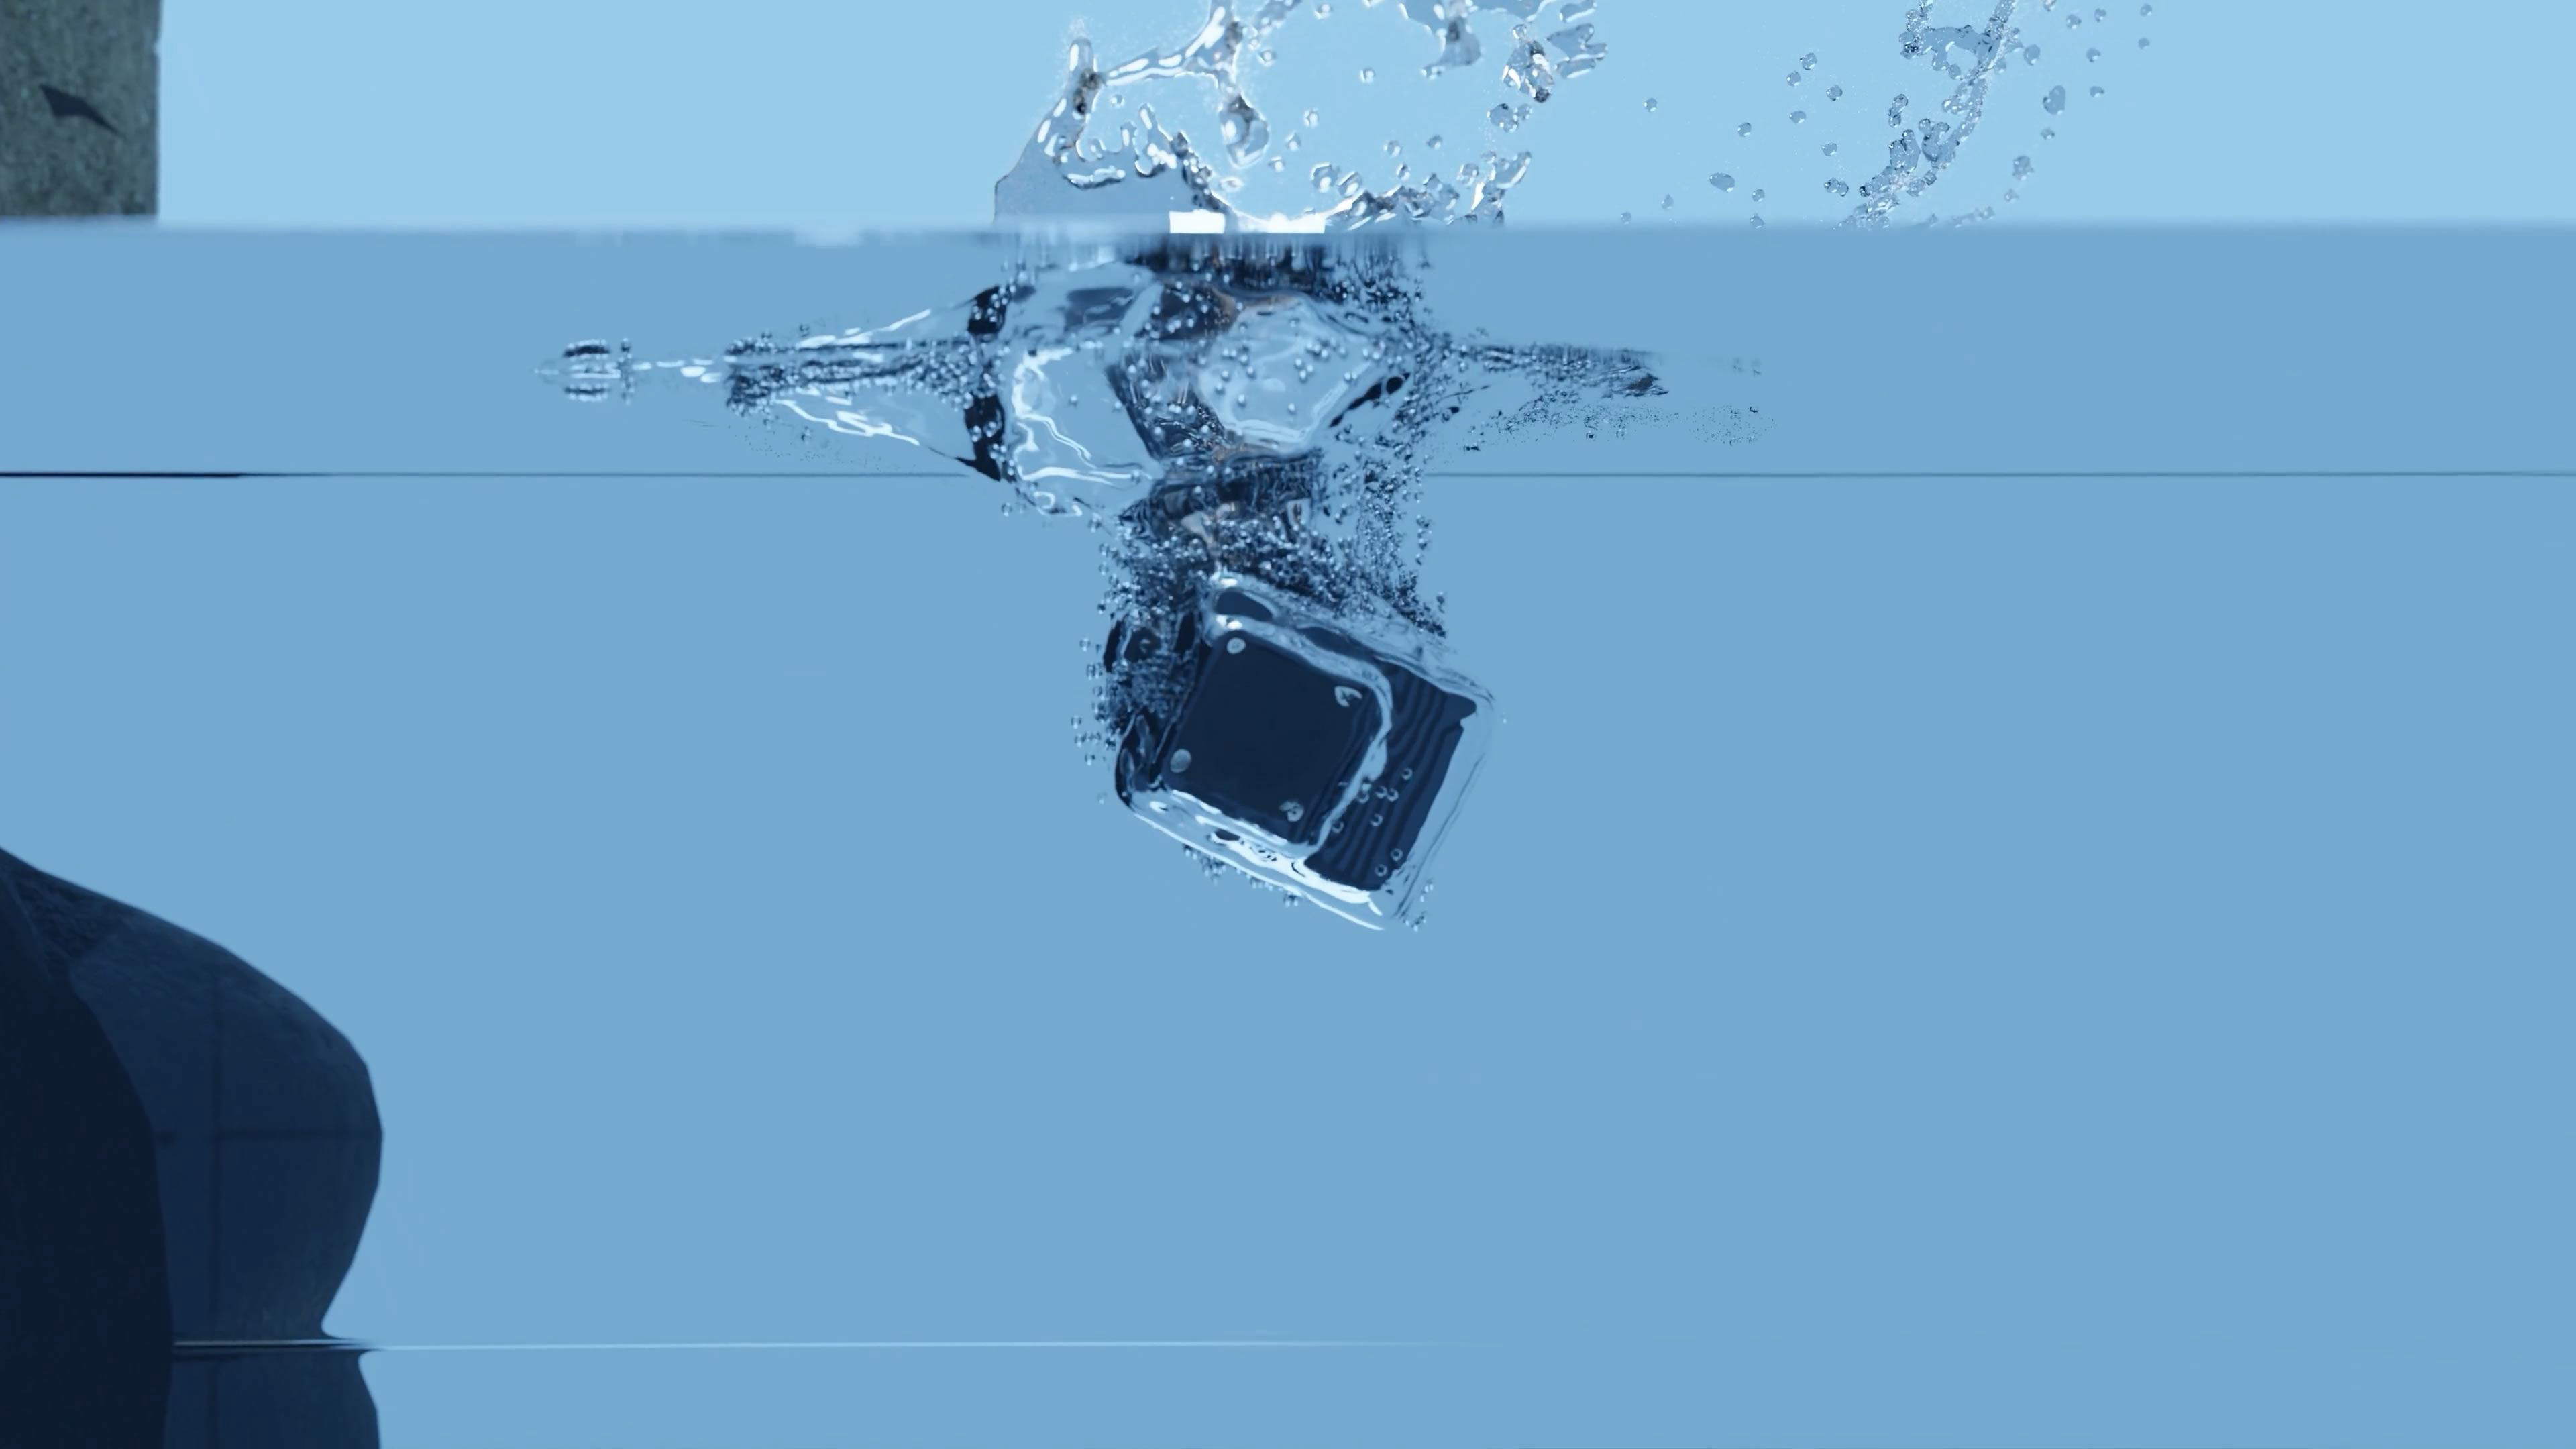
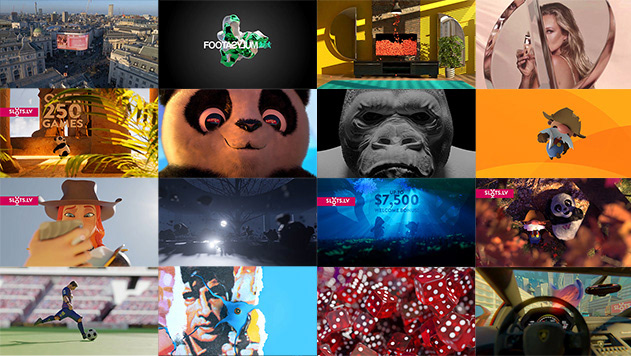
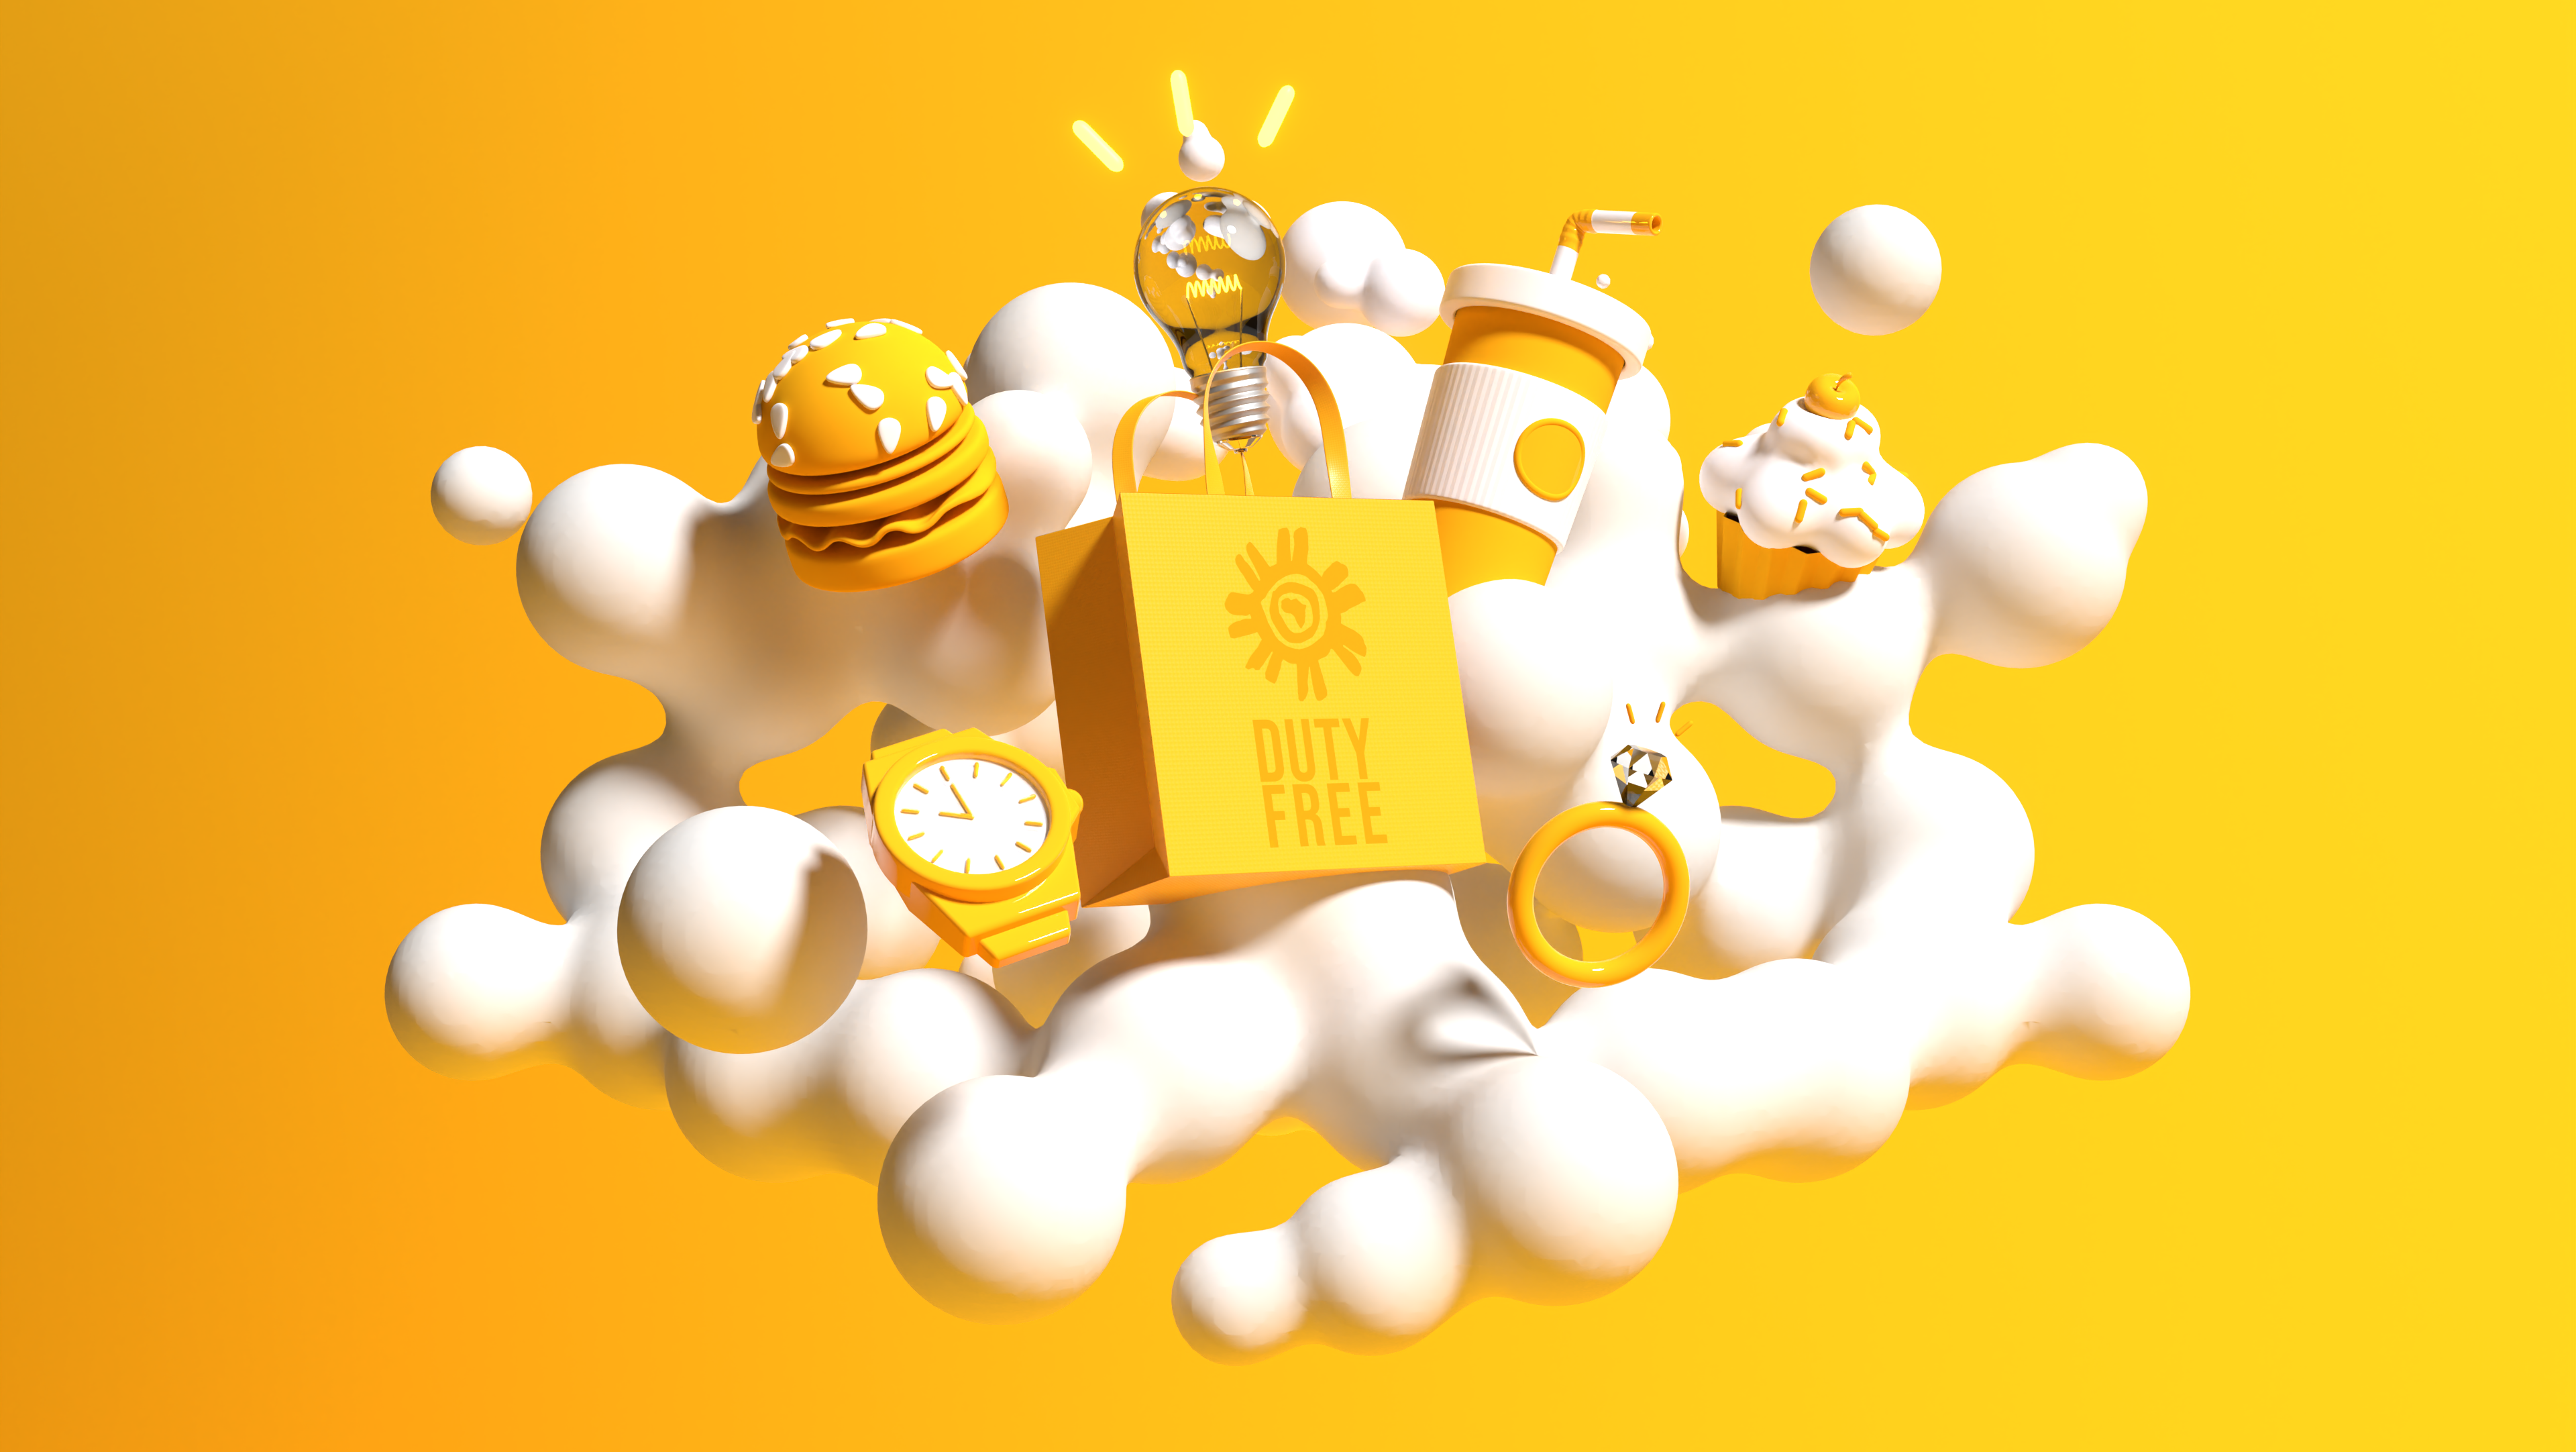
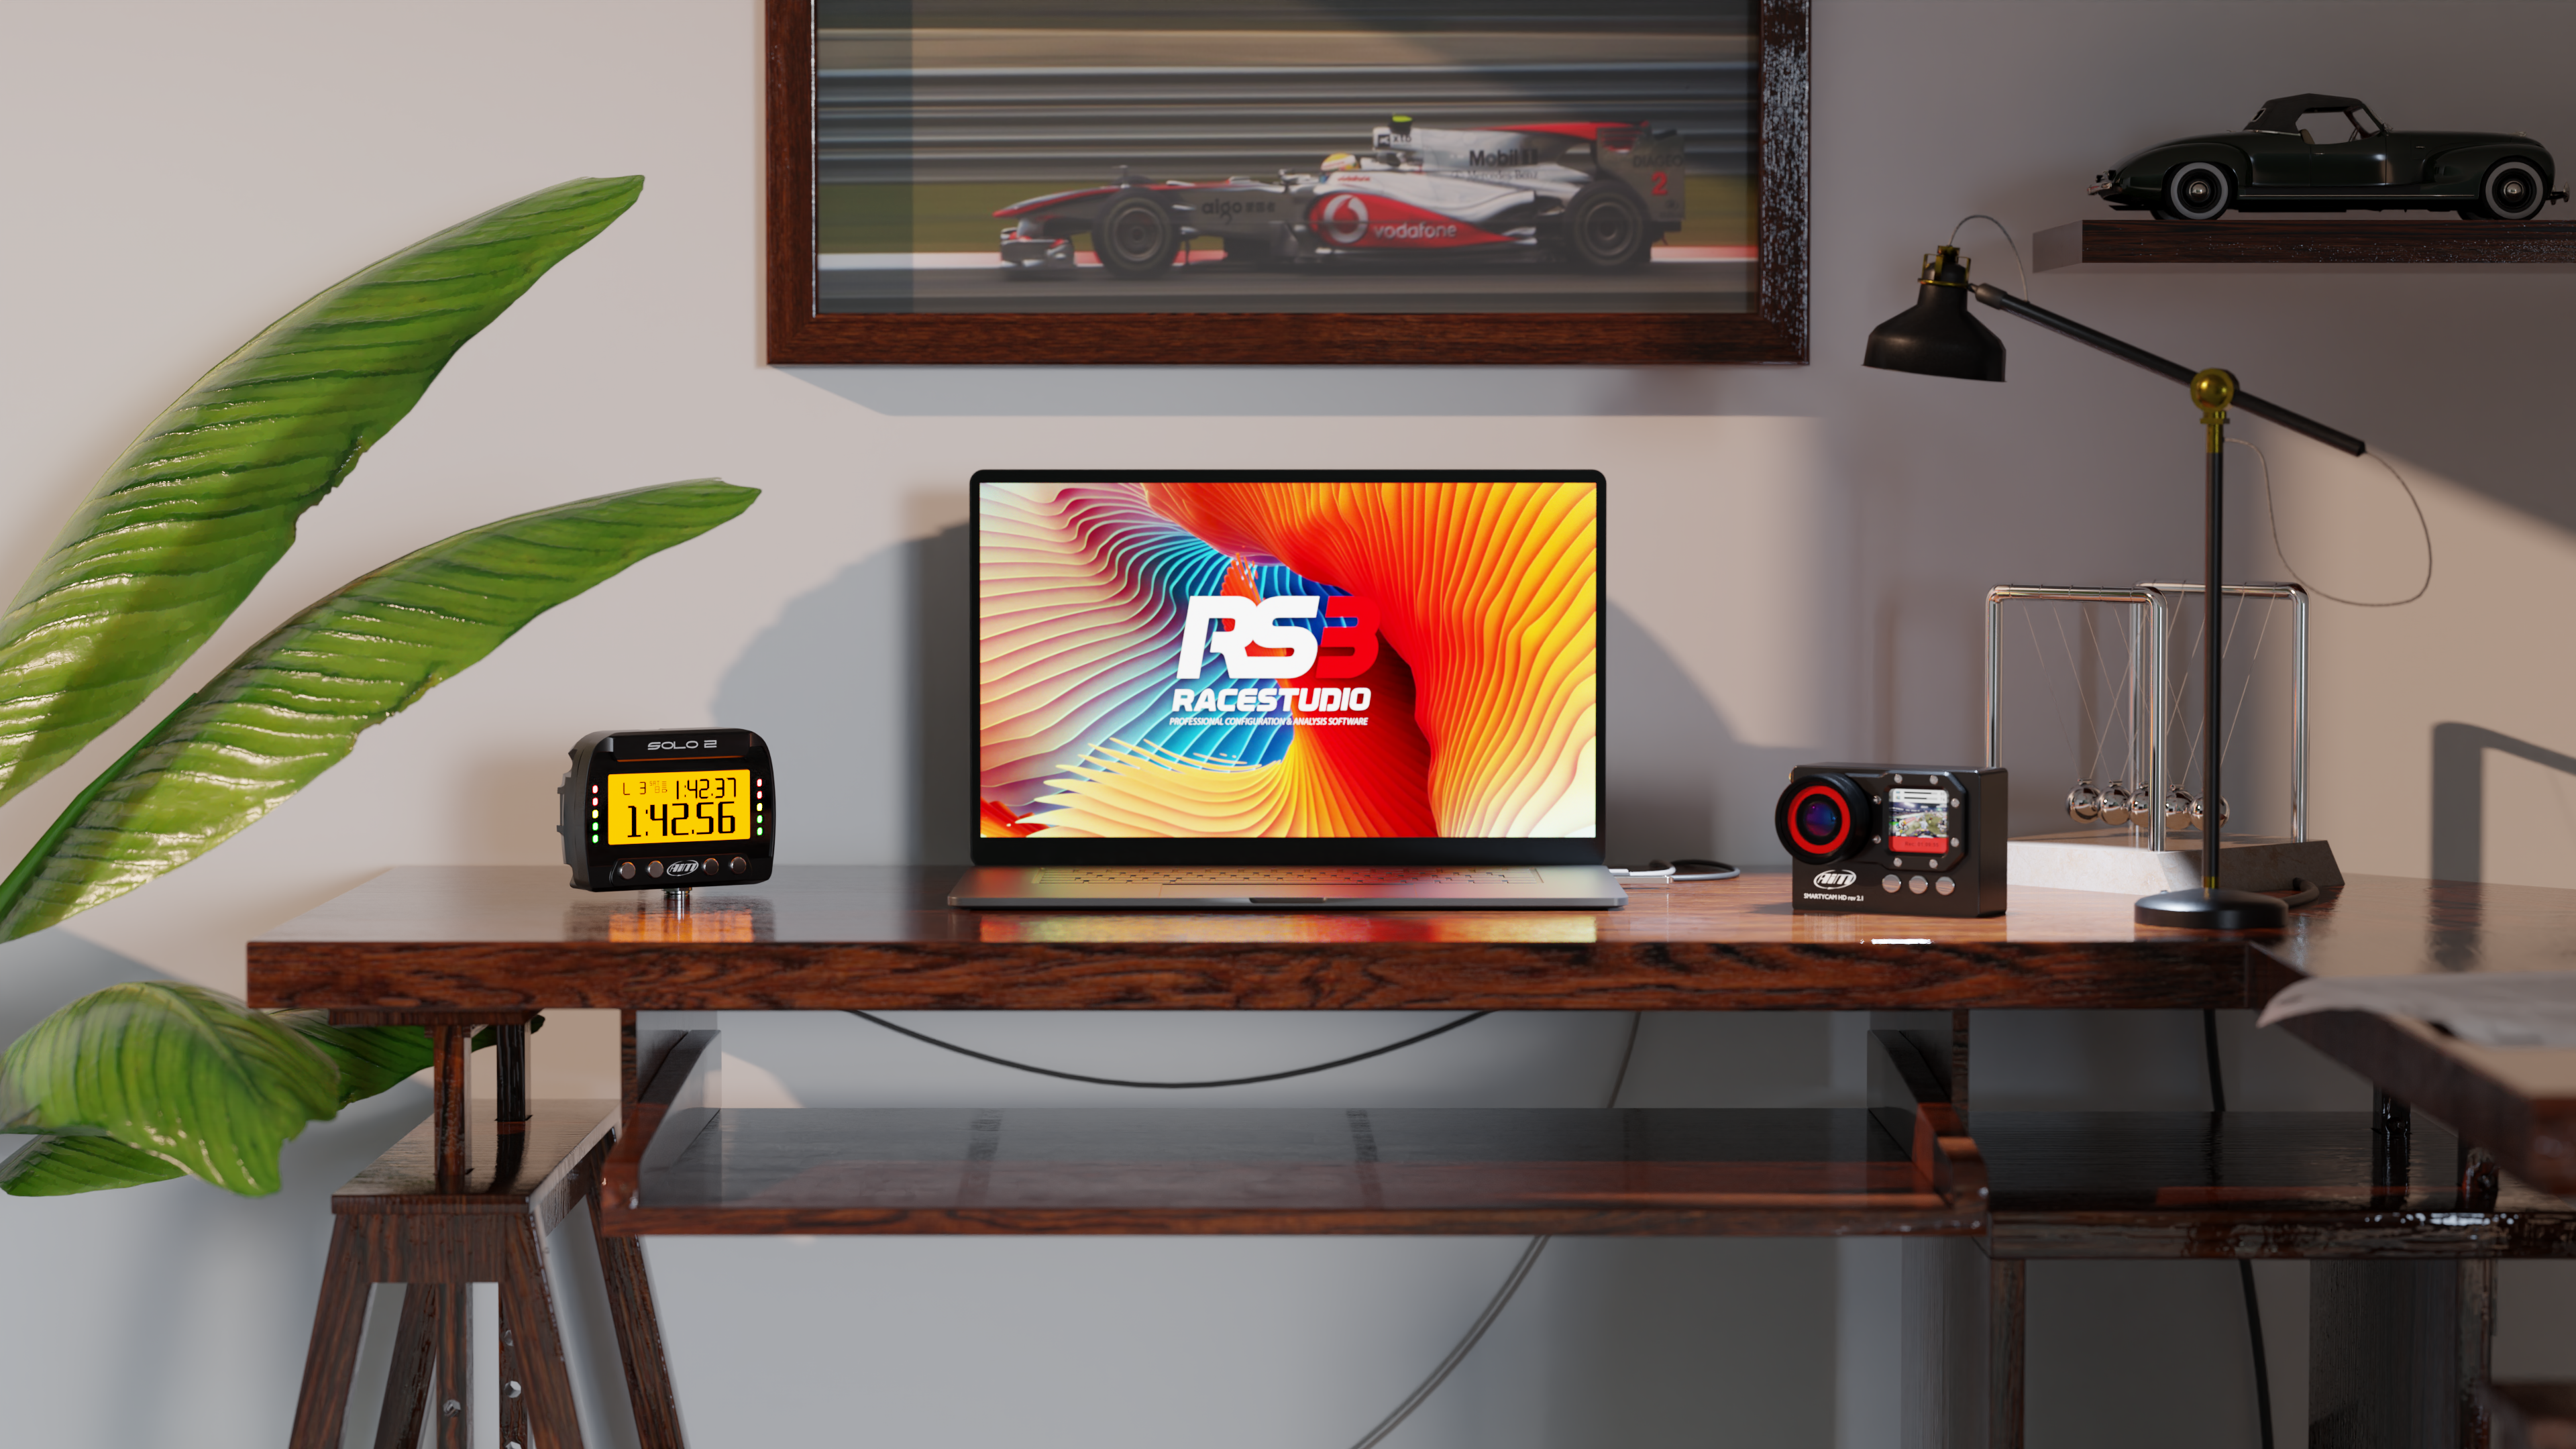
Above: First 'finished' animation of all components in the same scene. Most assets were created in seperate scenes to avoid laggy viewport then once I was happy with each animation I would bring them into the final scene for rendering all together. The final animation was the process of about 2 weeks work. For example the fluid animation took about 6 hours to bake the simulation and another 6-8 hours to render - and I had to do this twice!
Below: My first attempt at rigging and animating a robot hand which was the directors idea to get something to drop the camera rather than it starting in mid air and at the wrong angle. The hand would also be used to show the scale of the camera. However the feather I made had to be quite big because every time the camera interacted with the roots of the hair system it would bug out like crazy.

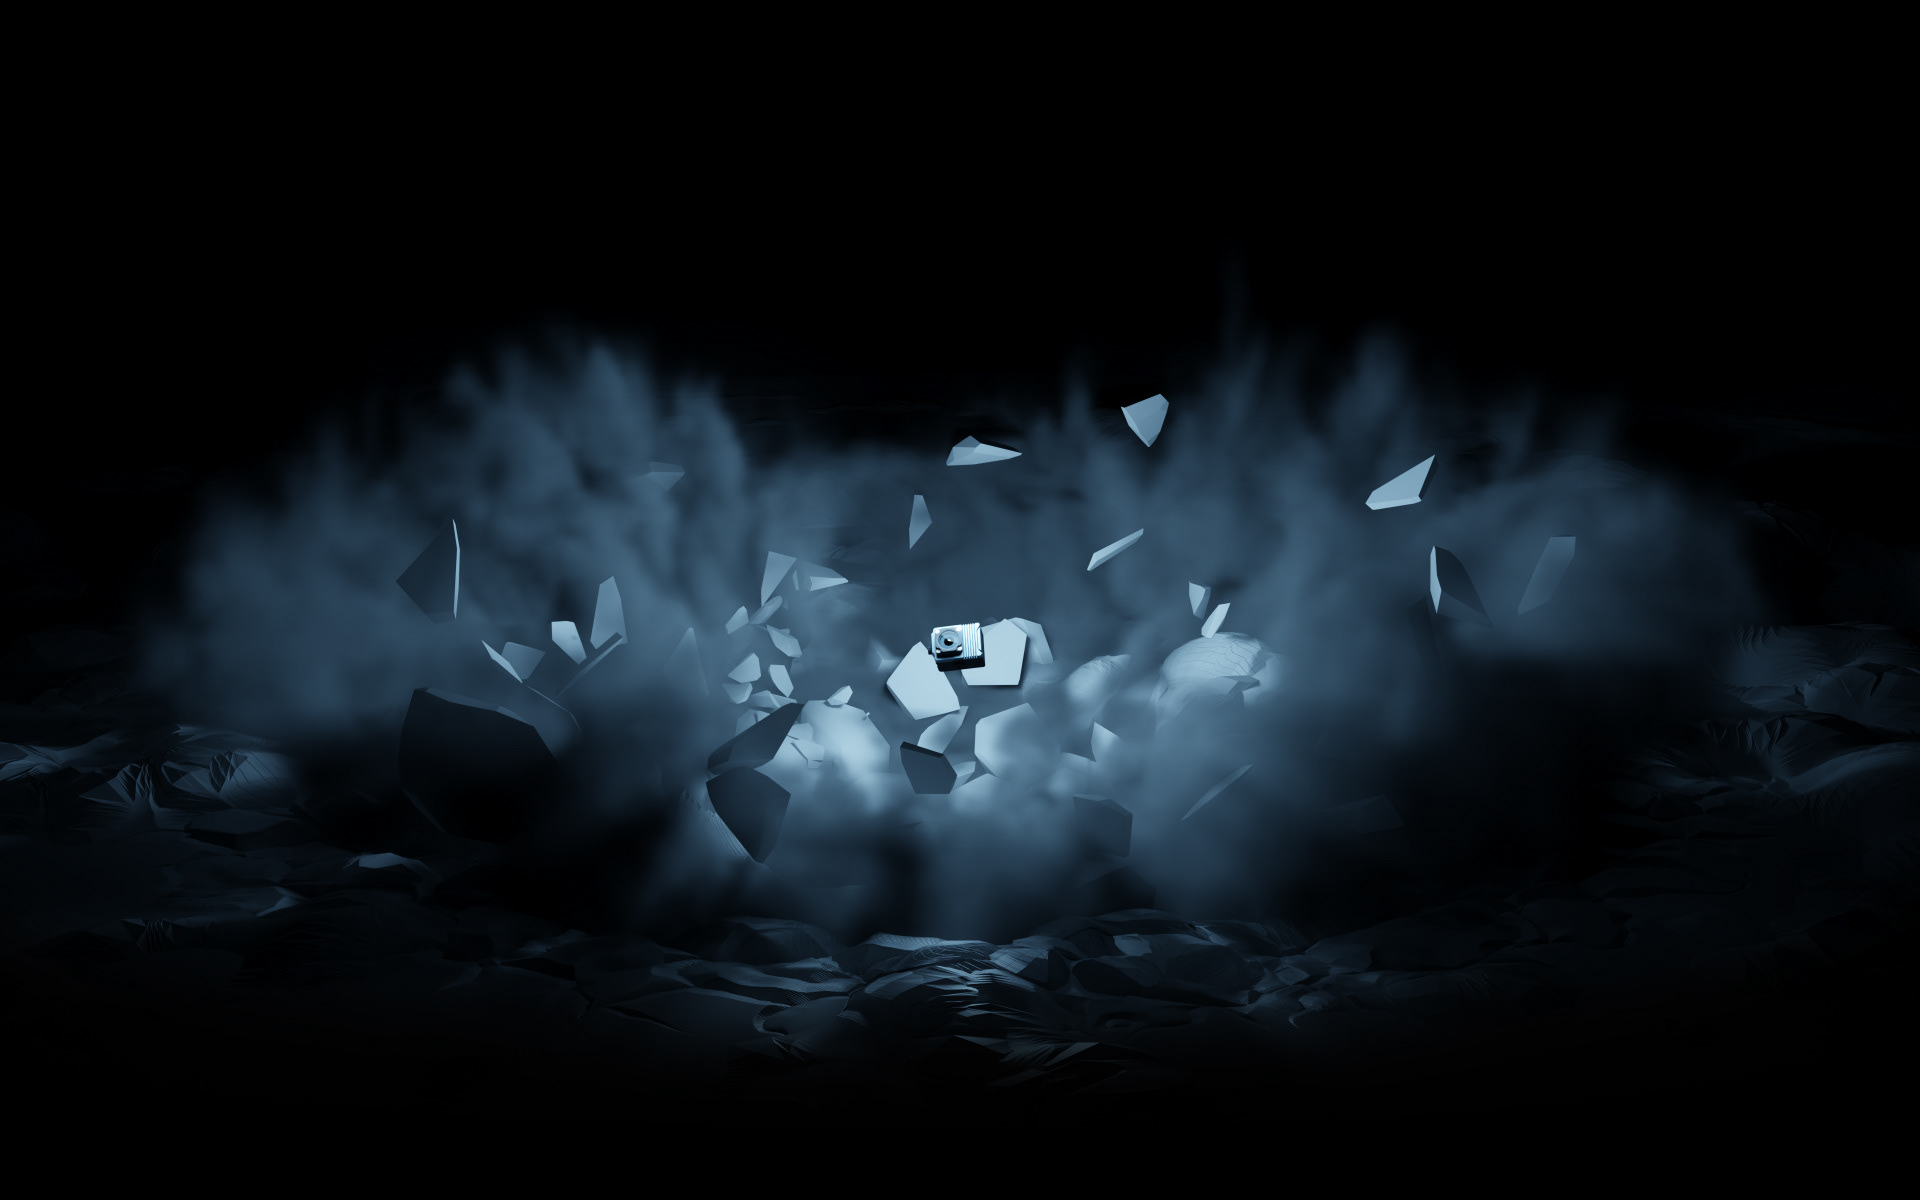
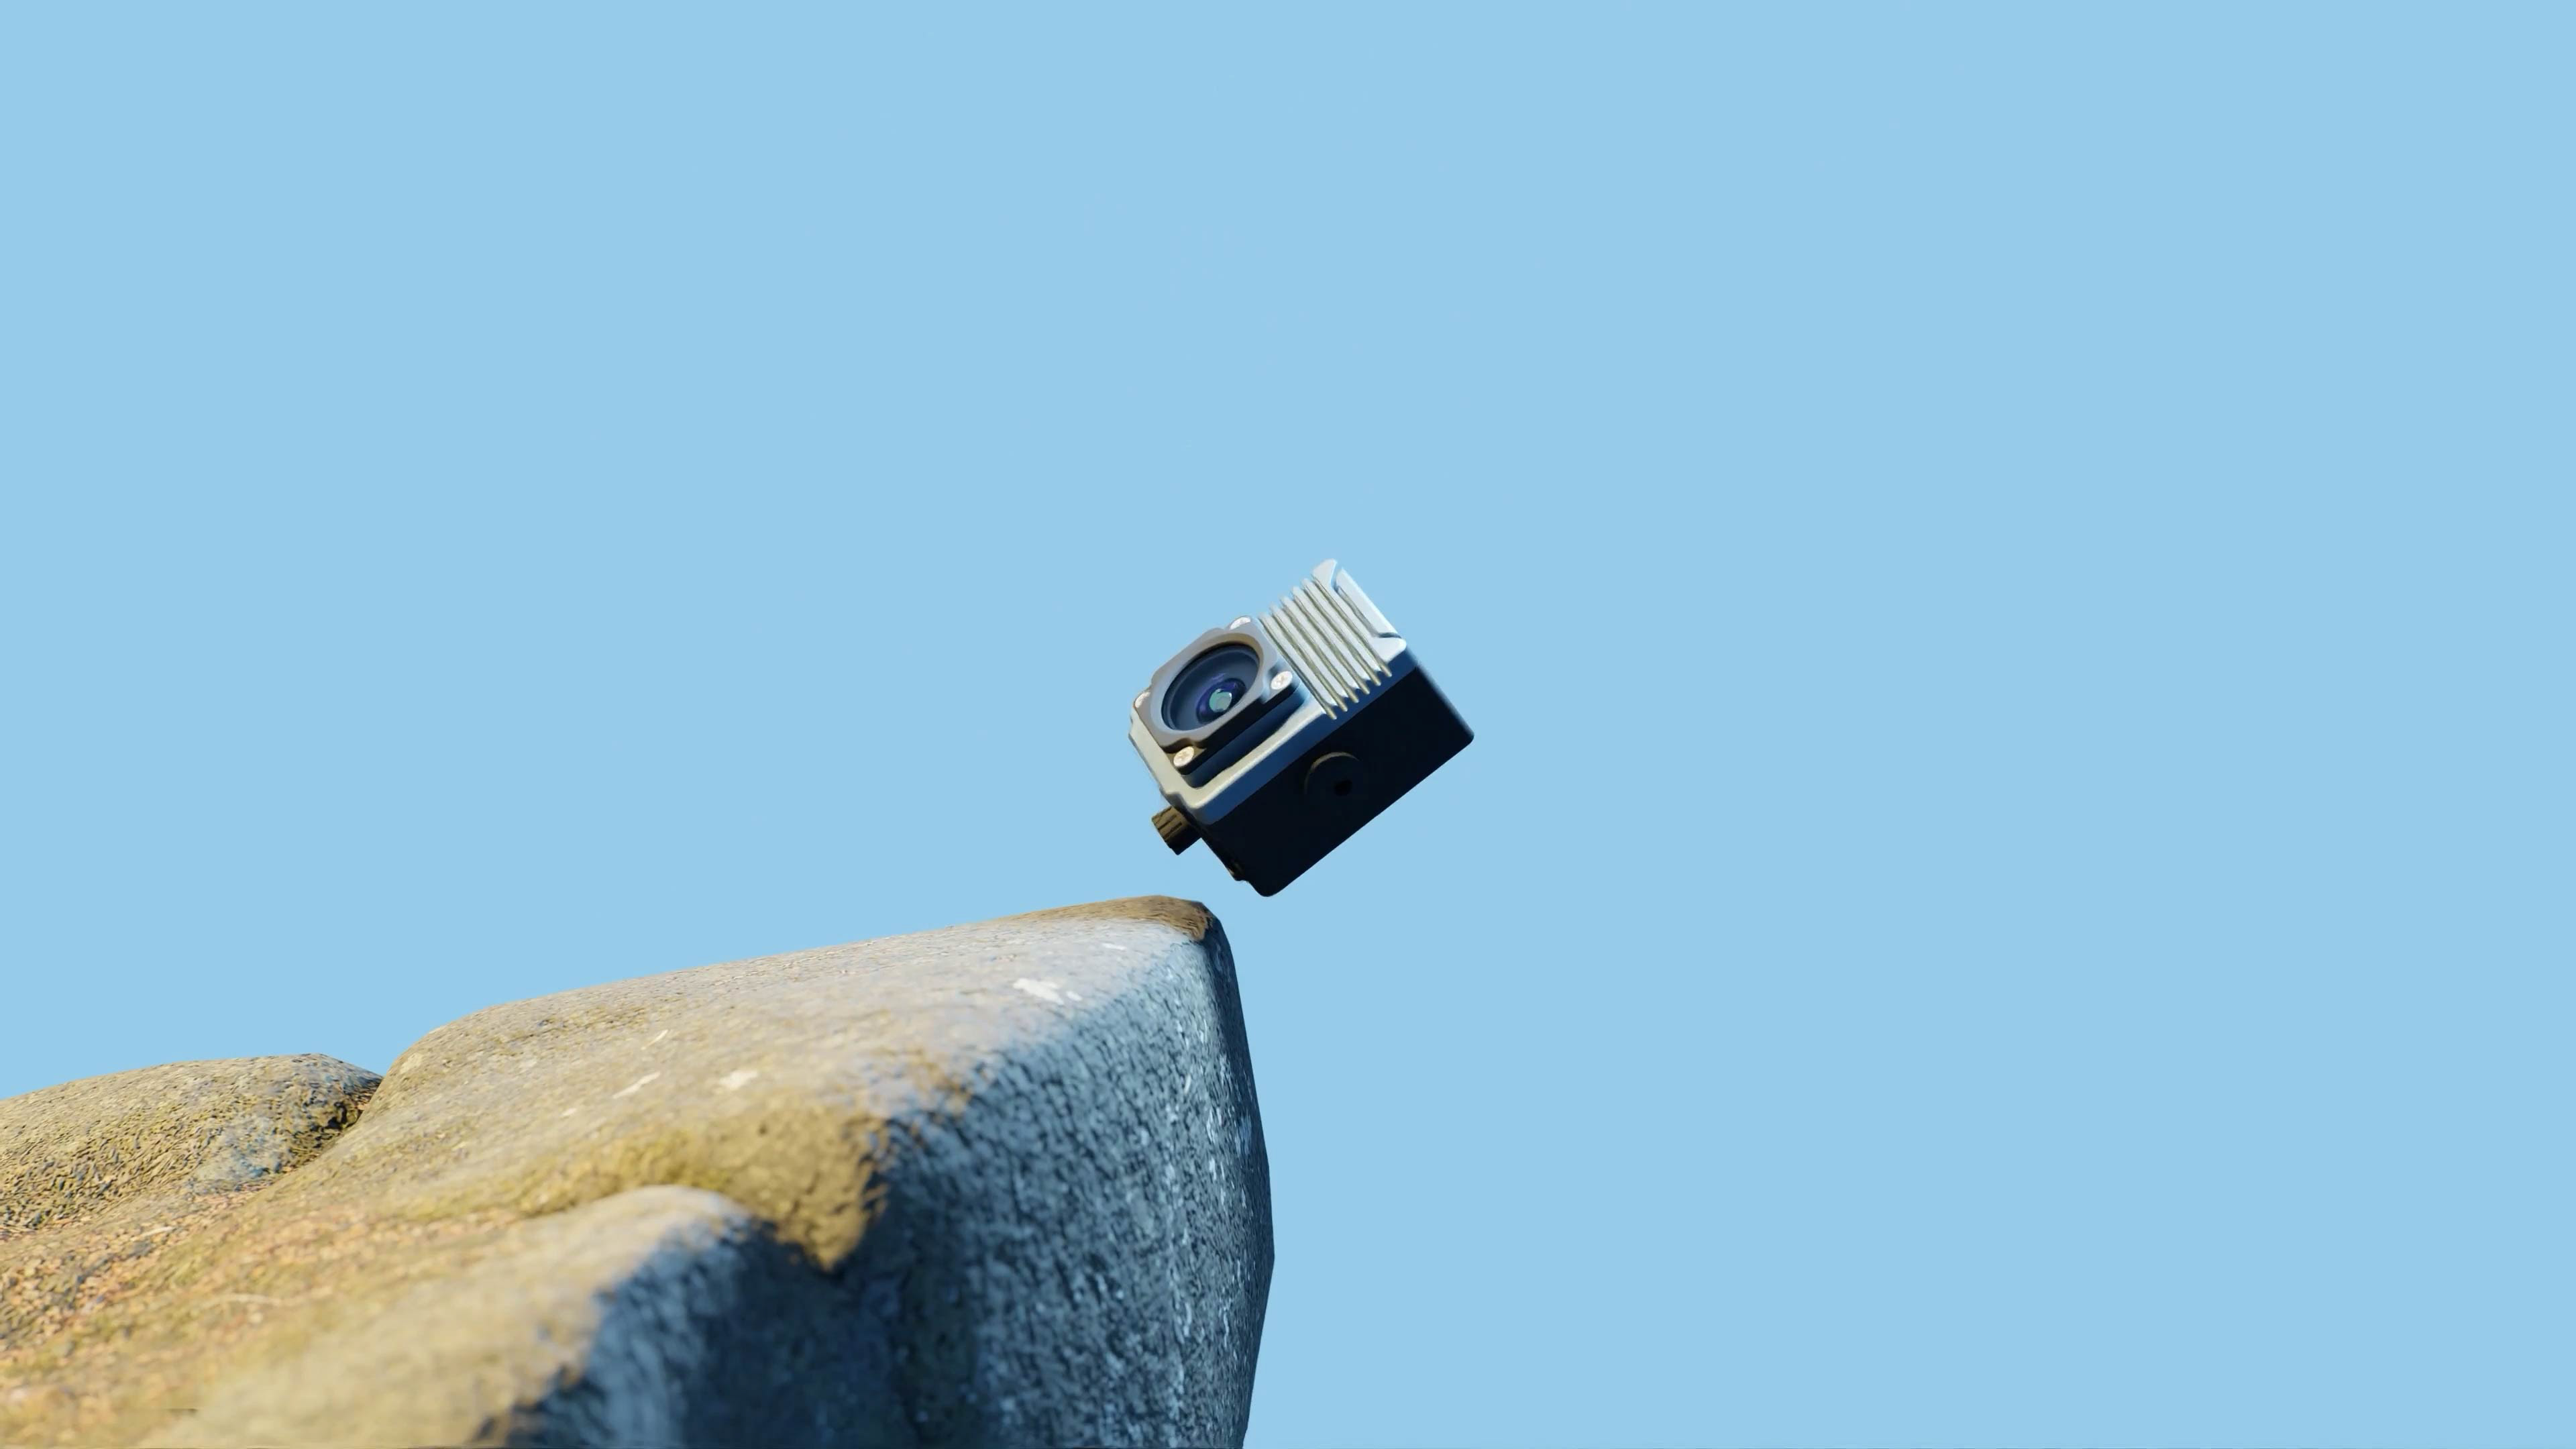
Above left: First test of Rigid Body Dynamic simulation using a whole bunch of methods: Fractured mesh, displacement with video files and proximity based displacement in the shader. To the right is an impact test still render with the addition of simulated smoke to add dust and weight to the scene as it looked a little bare. Smoke sim also took a few hours to bake even though only lasted for about 5 seconds.
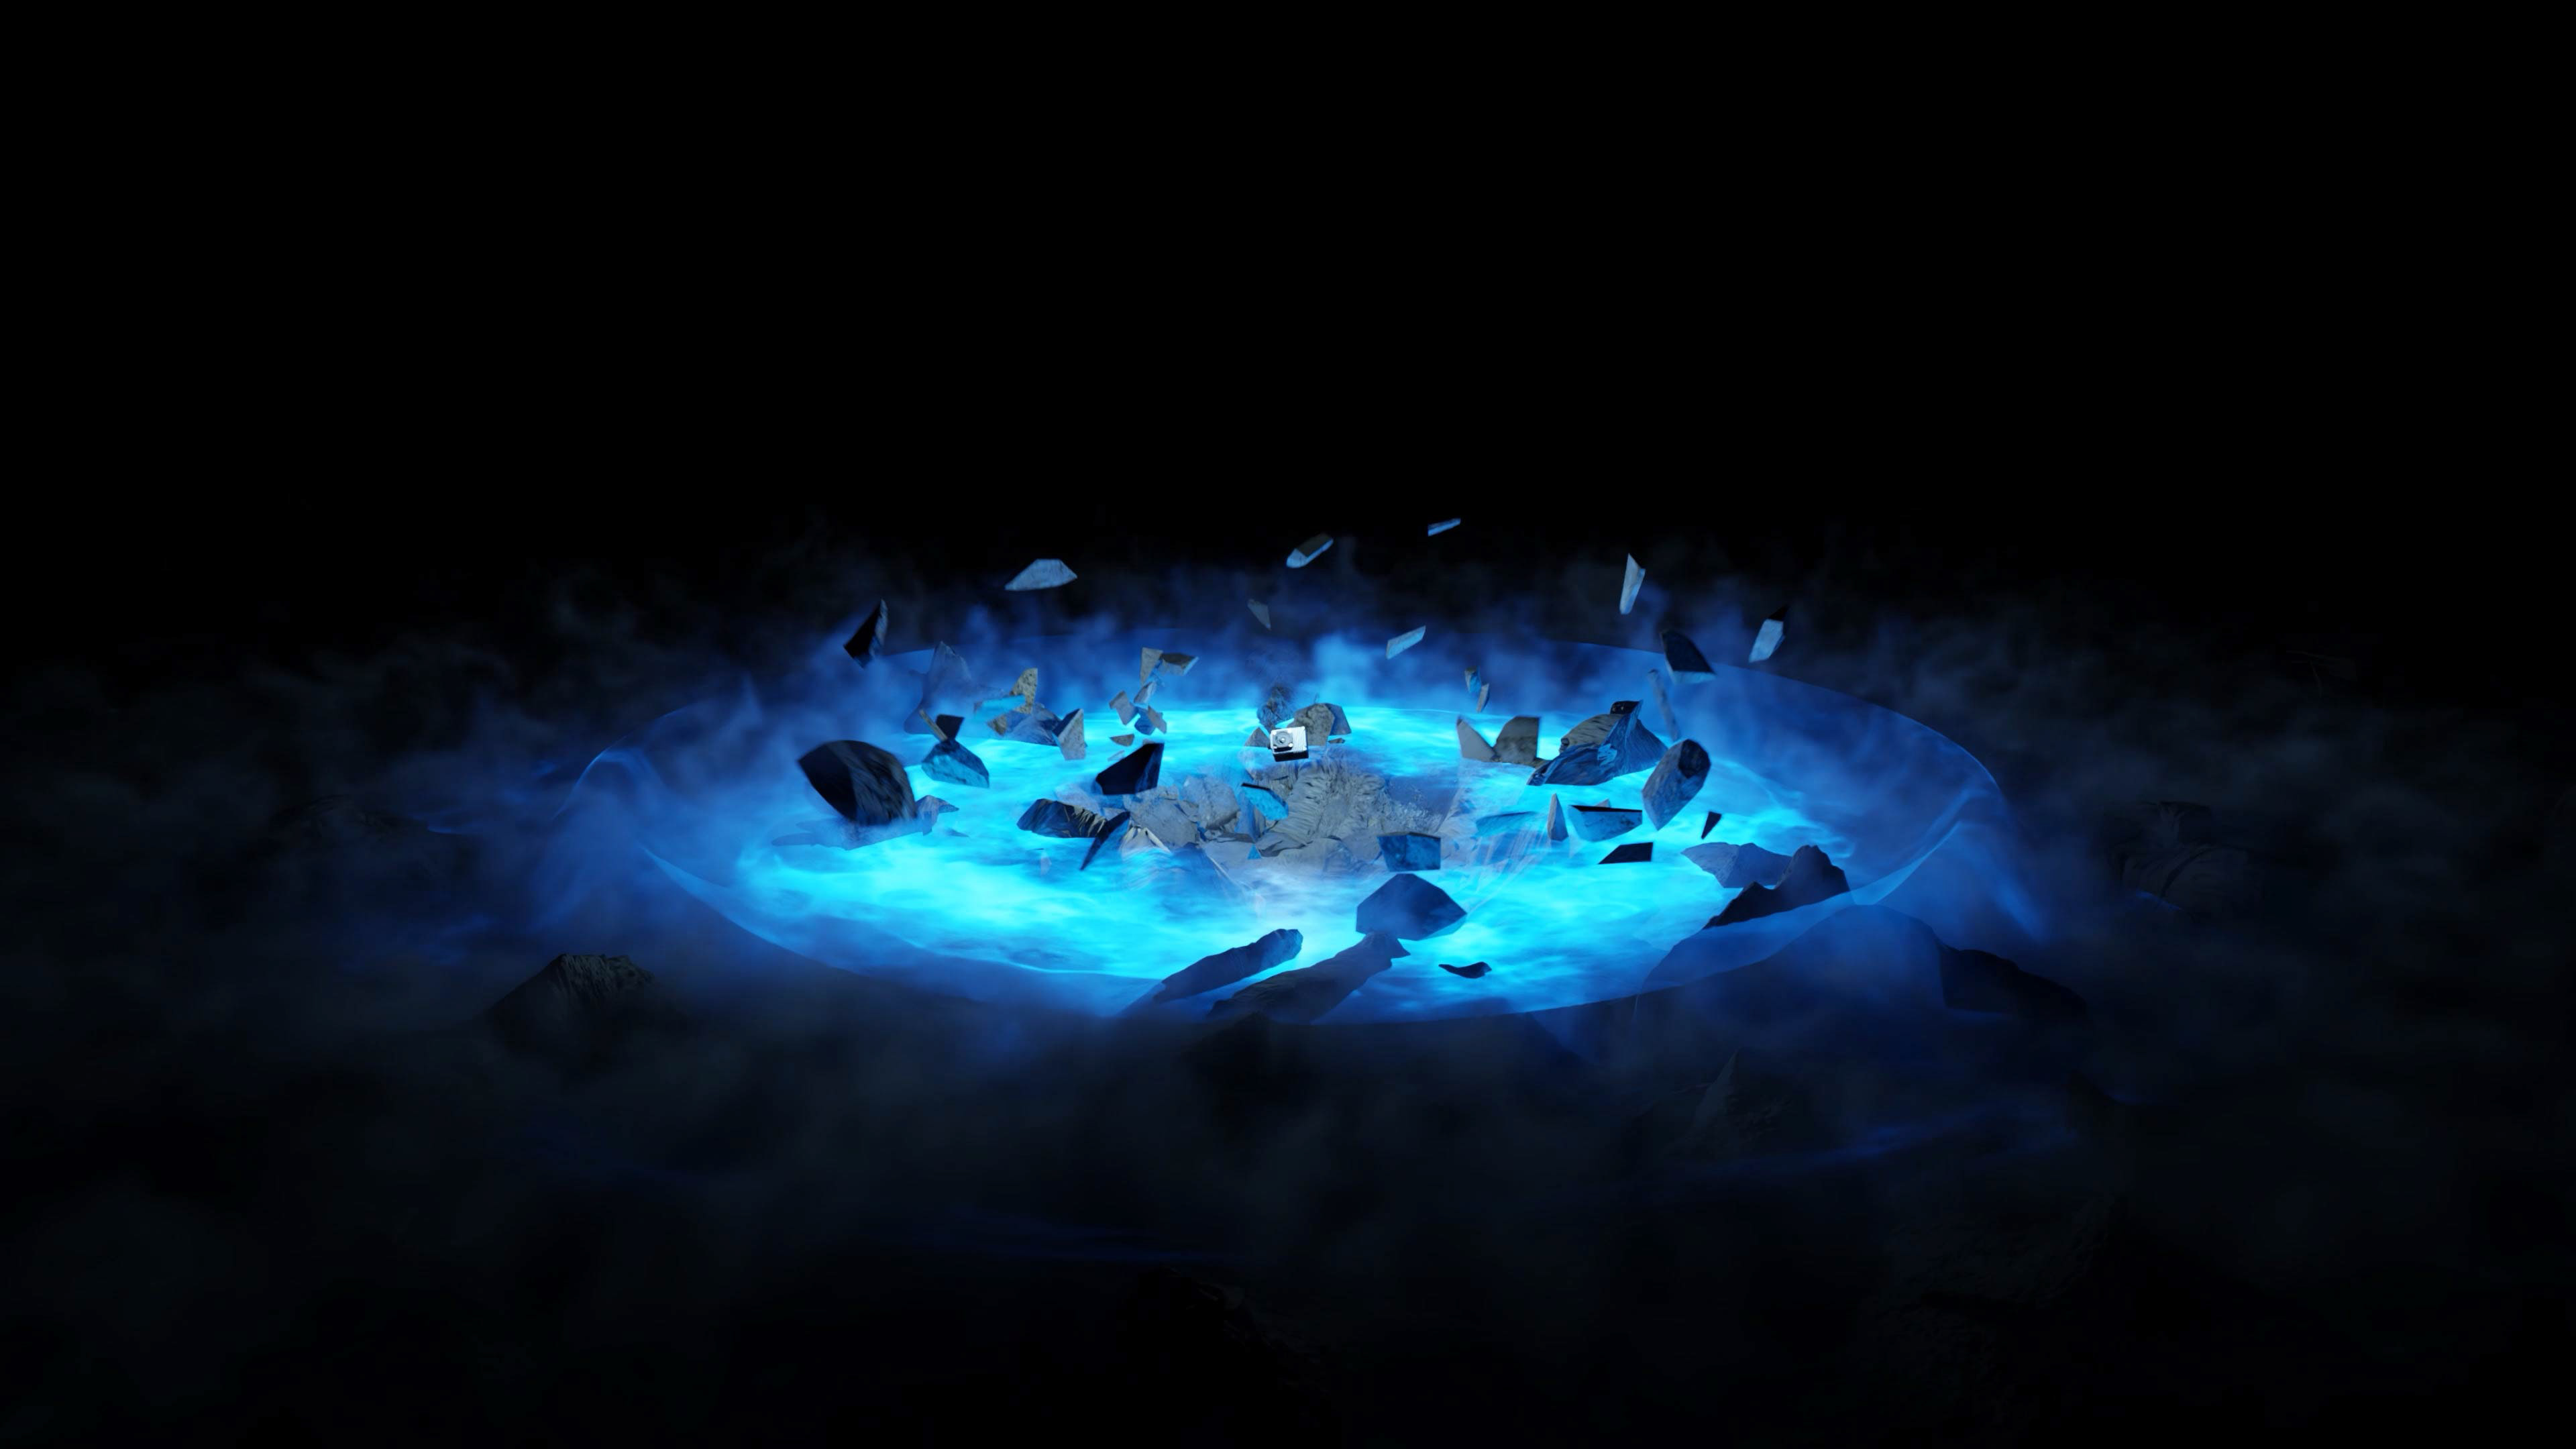
Below: I thought to add more appeal and force to the event I would add a shockwave. I created a black and white alpha image sequence in After Effects to be used as an emission shader with transparency after watching a tutorial by the legendary Andrew Cramer of Video Copilot - if you know, you know ;) and finally to the right is the final shot with all the elements added with a touch of camera shake for seasoning.


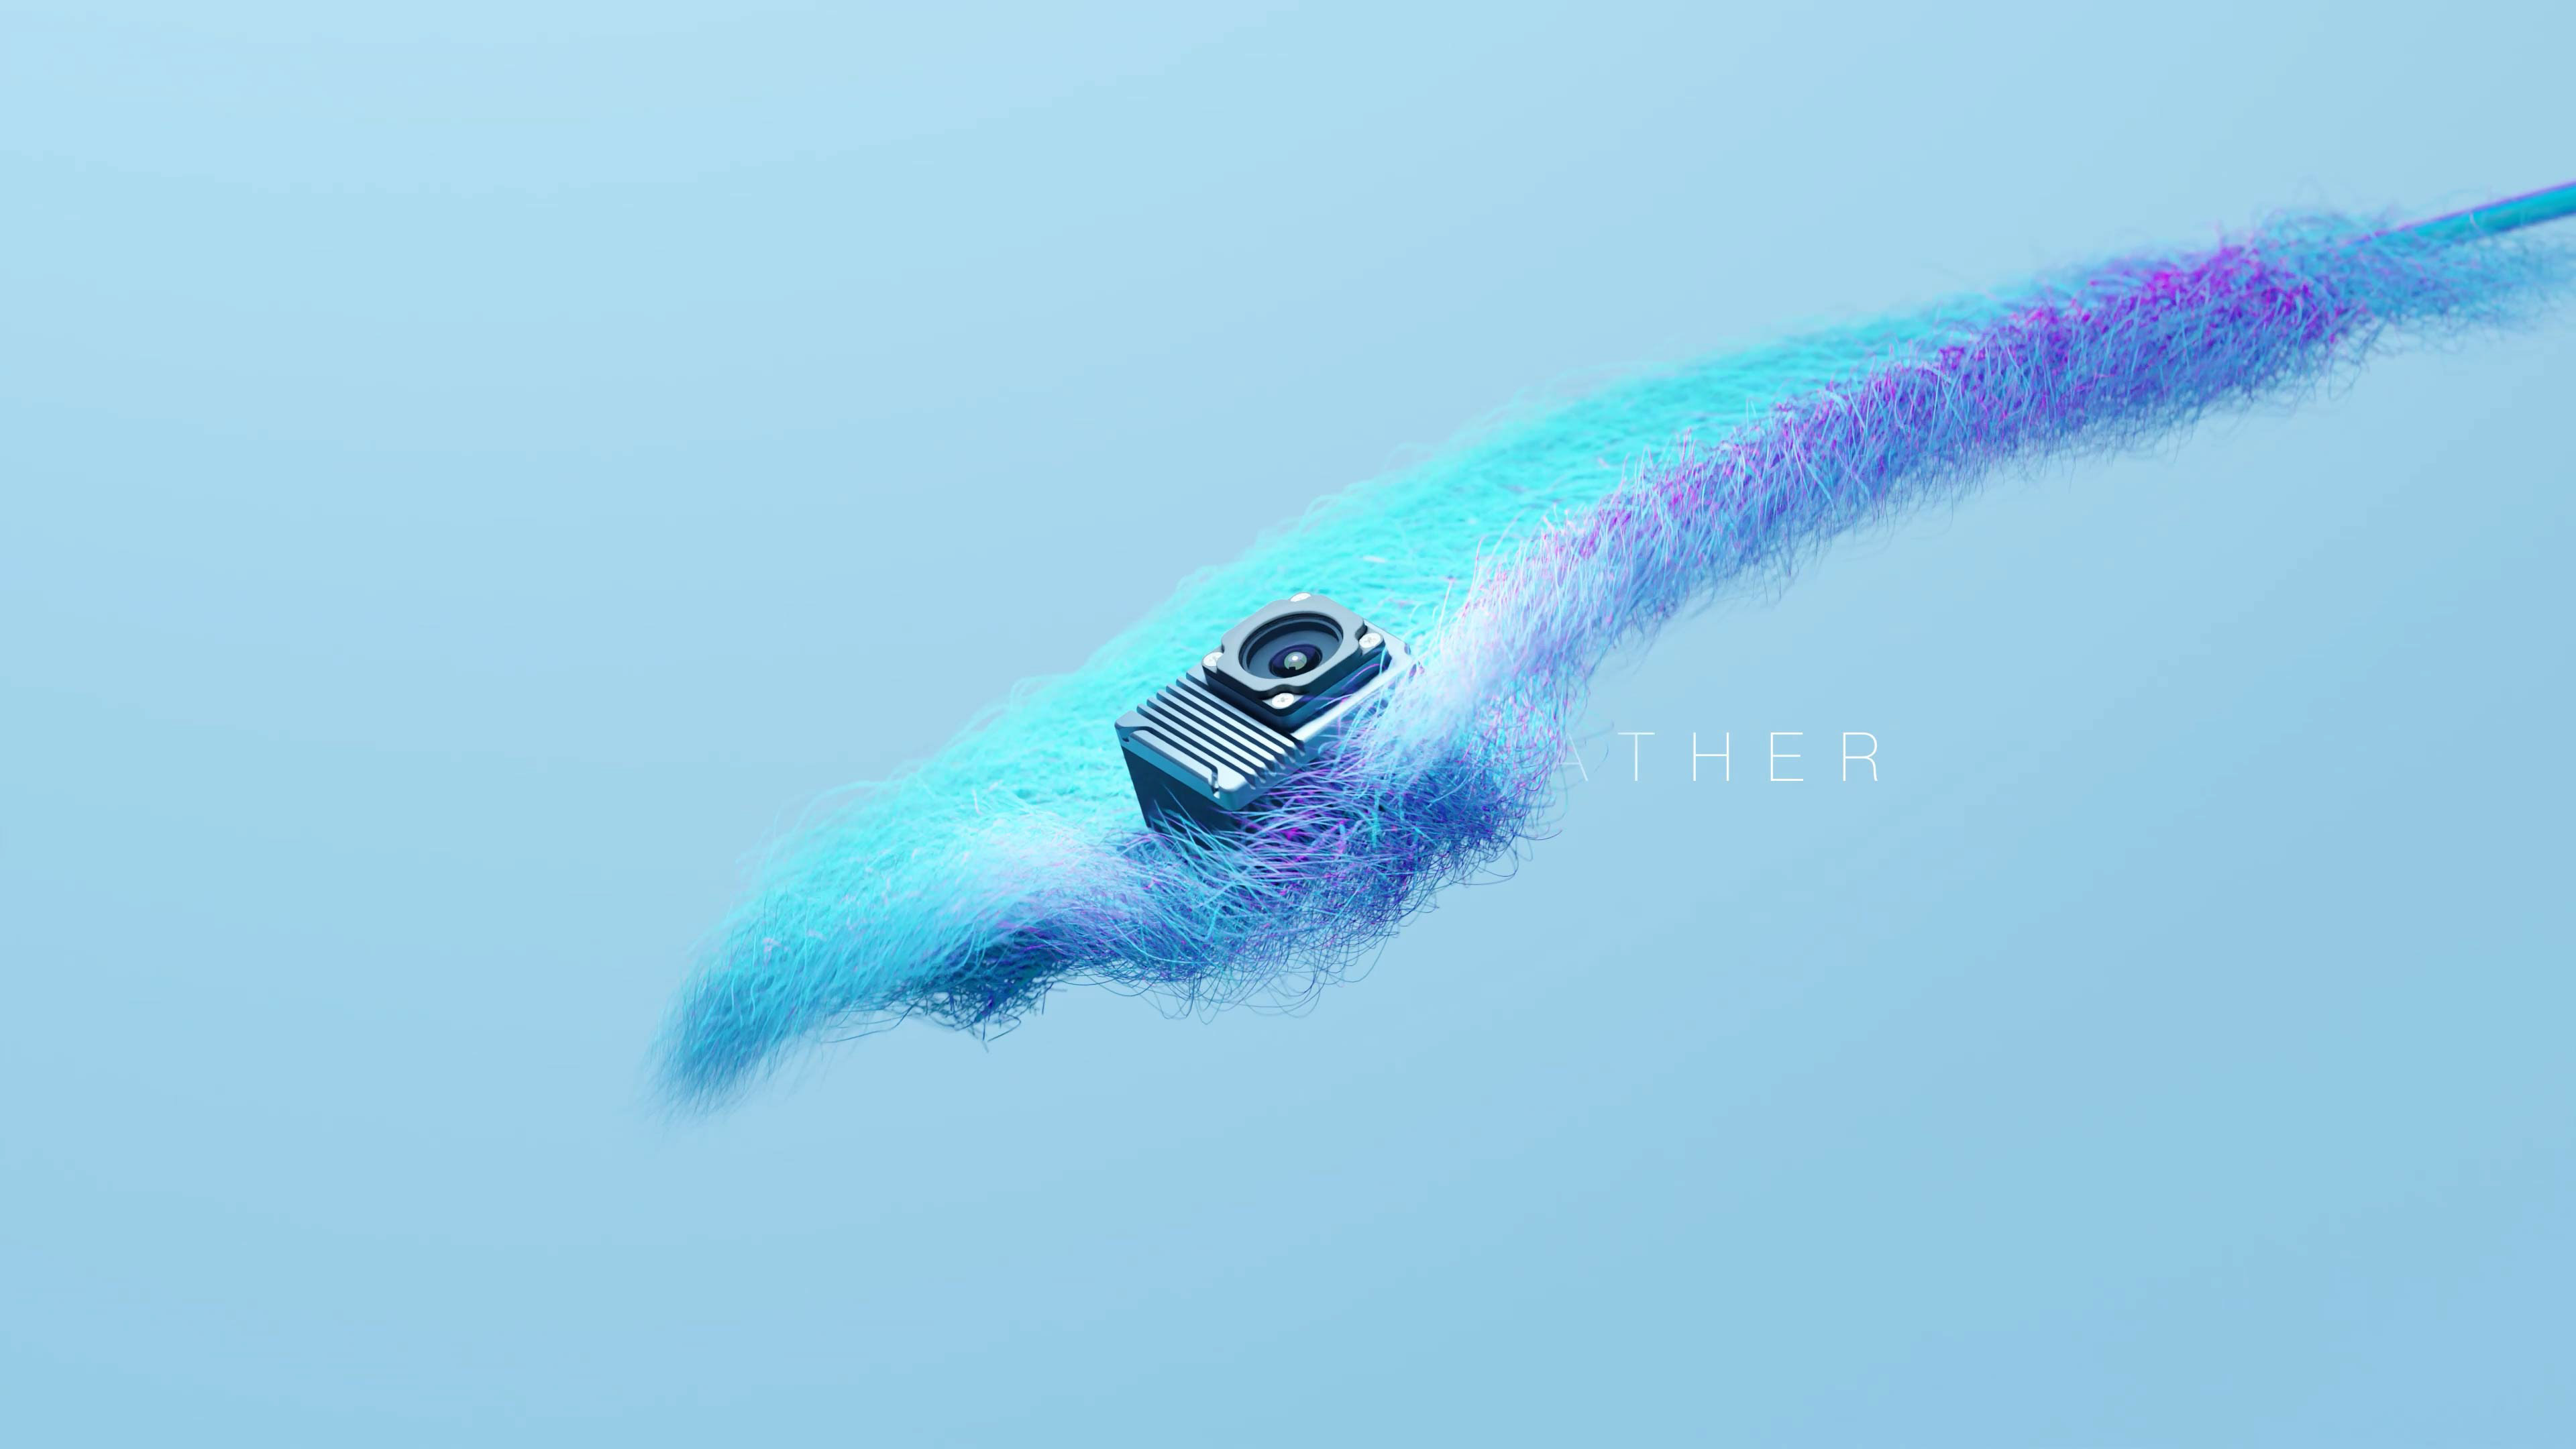
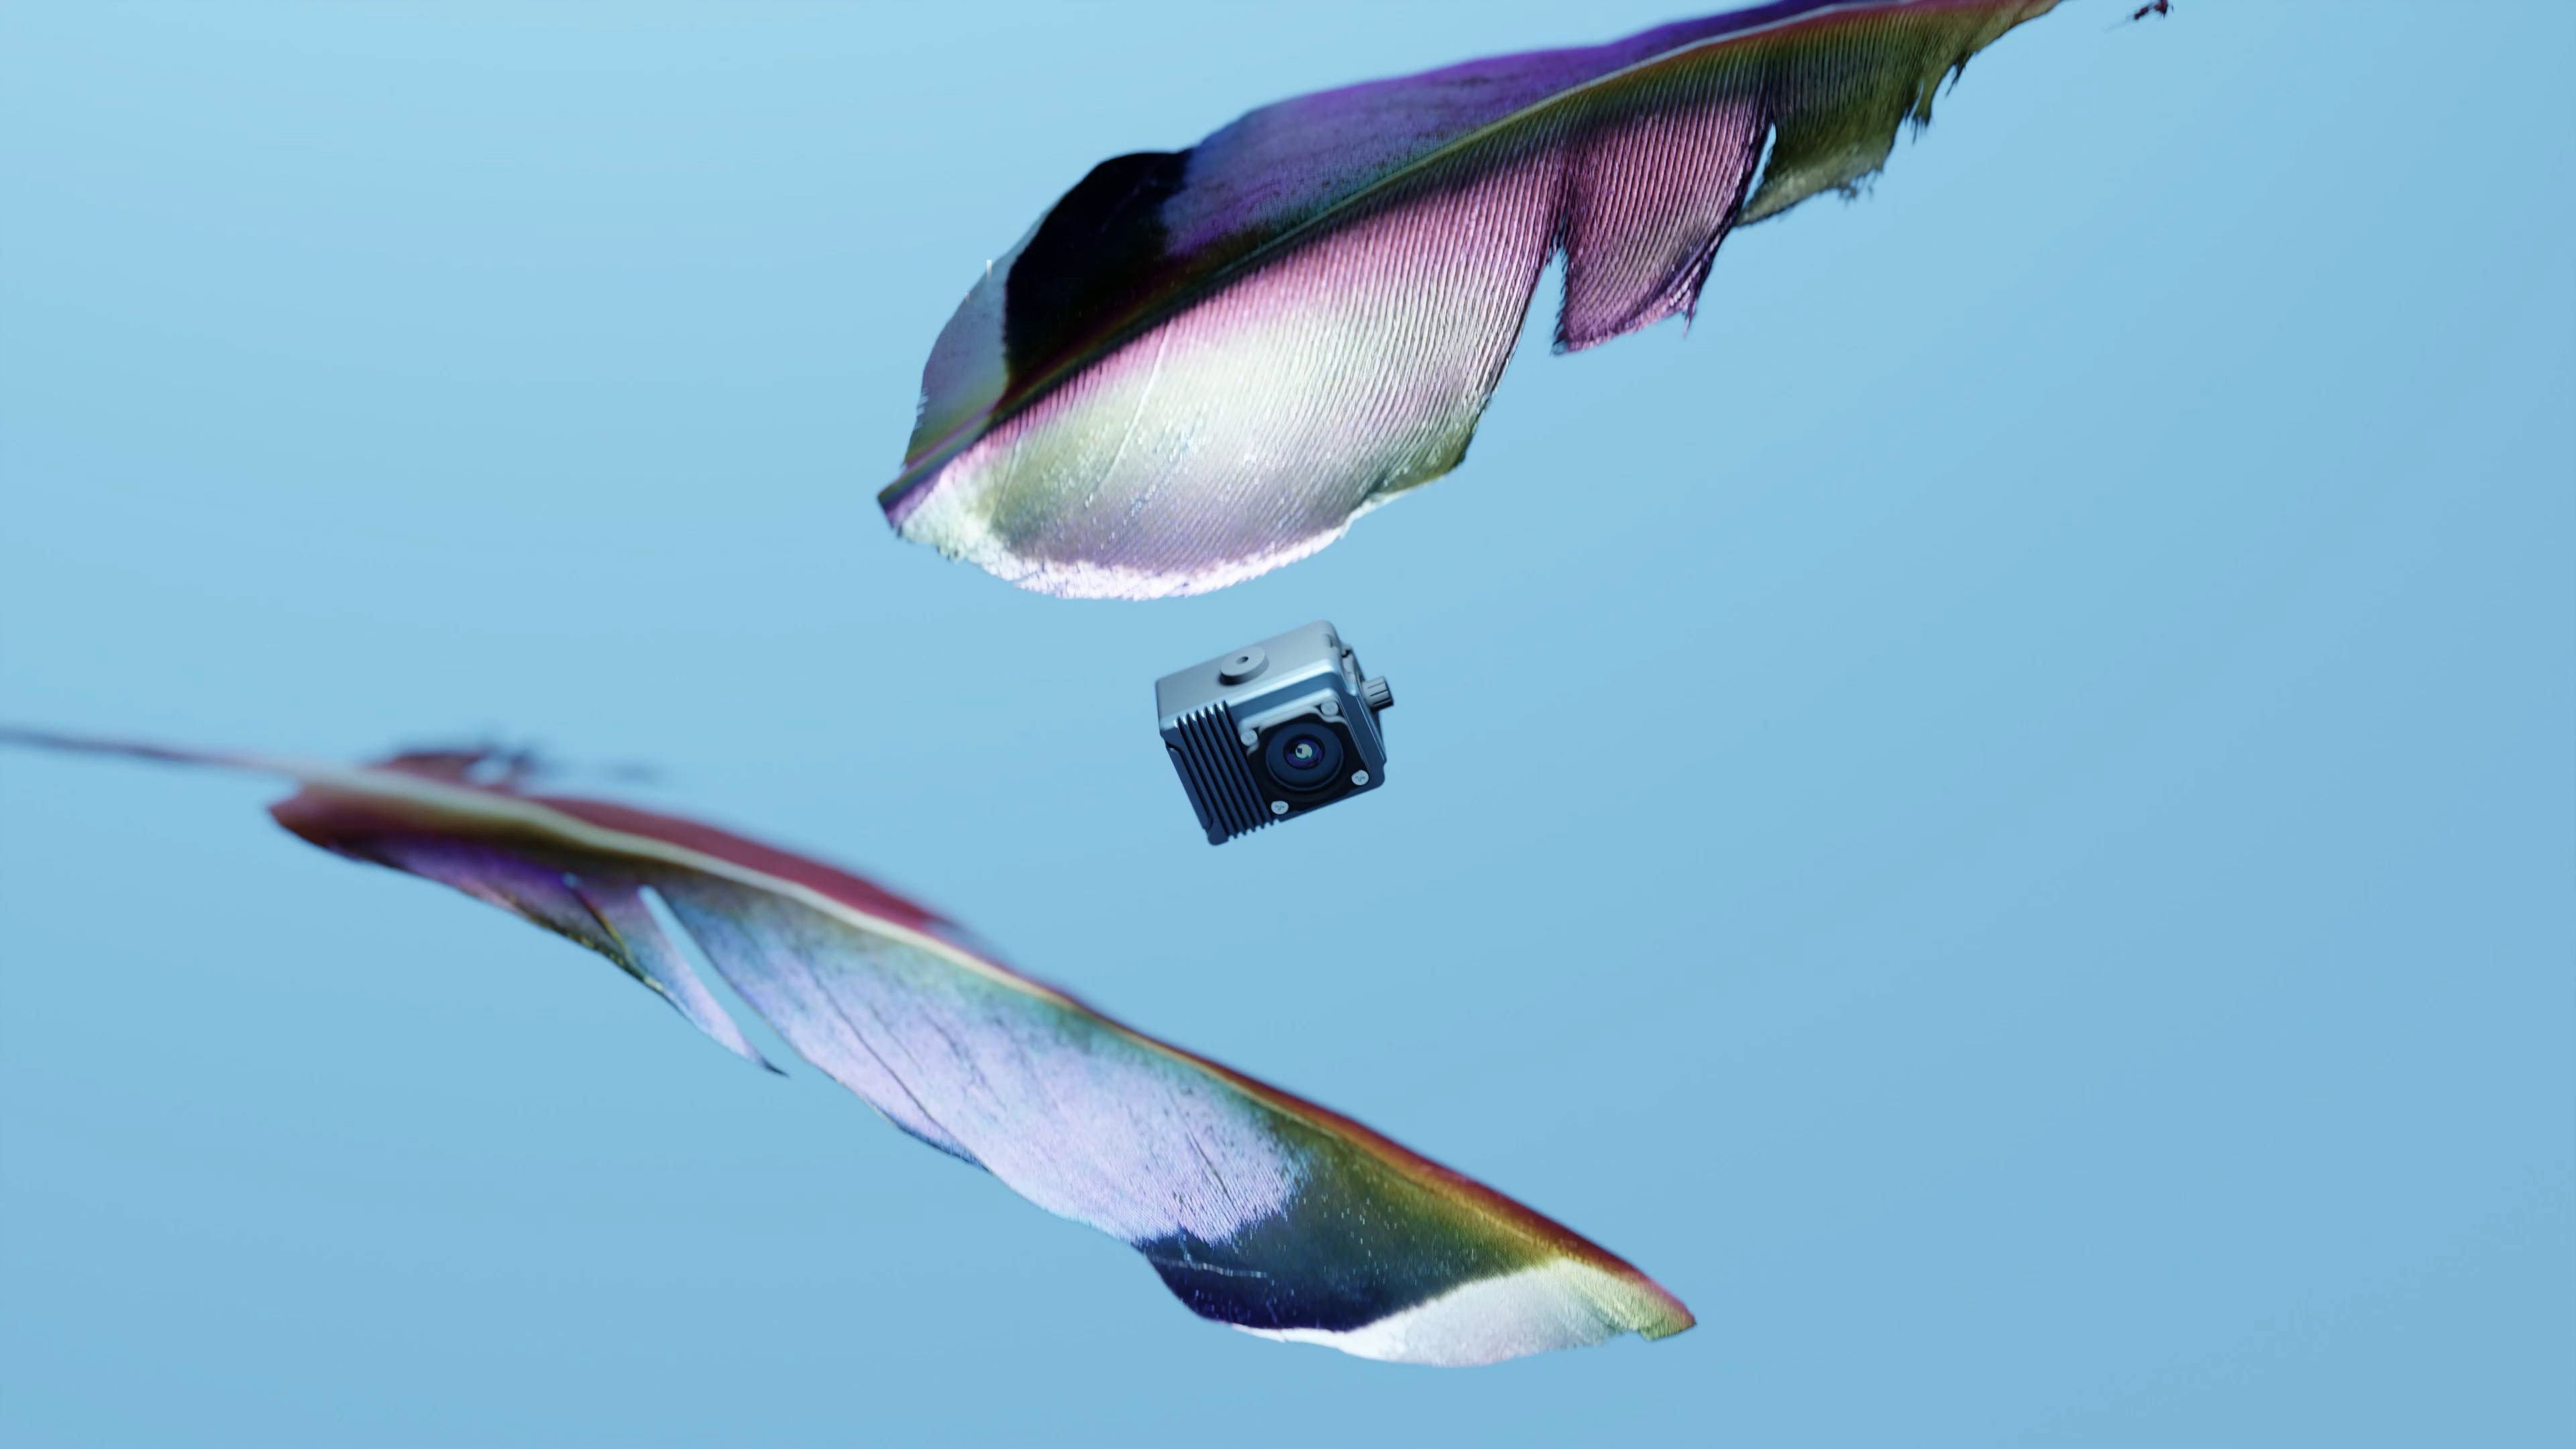
Above: My first attempt at making any animation for the SmartyCam. One of the main features is that it's lightweight. So I created an animation to show it's 'Light as a Feather' and I'm really happy with how it looks, how it reacts - all done with cloth simulation on a high quality jpeg and just hand animated the camera fall down. But there was something missing. I wanted individual strands of 'hair' from the feather so that each one would interact with the camera and that would then affect the motion of the camera using rigid body. This did have its limitations to be honest and i thought i would have to stick with this as hair dynamics do not react with rigid bodies in Blender. So I had to make a sneaky work around. I basically duplicated the camera and gave it Rigid Body physics so it would fall naturally. Then with the original I used a copy location and rotation constraint so it would match exactly the same movement but it didnt have RBD so i could give it collision instead so it would interact with the hair. I also used this object as a collider with the fluid simulation later.
Below: some screenshots from the project so you can have a closer lookat the details, for example the robot hand. After I animated and textured it, I wasnt overall happy, I wanted some translucency to the material so you could see through it, but there were no internal components. So I quickly modelled some to add something more ineteresting to look at. Again even though only in the final animation for a few seconds, every little bit of details counts. I always refer to films when doing something like this - for something thats going to be viewed again and again, you want every bit of detail covered so it becomes timeless and always a pleasure to watch.